
1. Get Onboarded
Book a call or contact us to get set up. We’ll provision your account and provide your Send Mail Token.2. Add a Domain
Add your sending domain and configure the DNS records we provide (SPF, DKIM, CNAME tracking).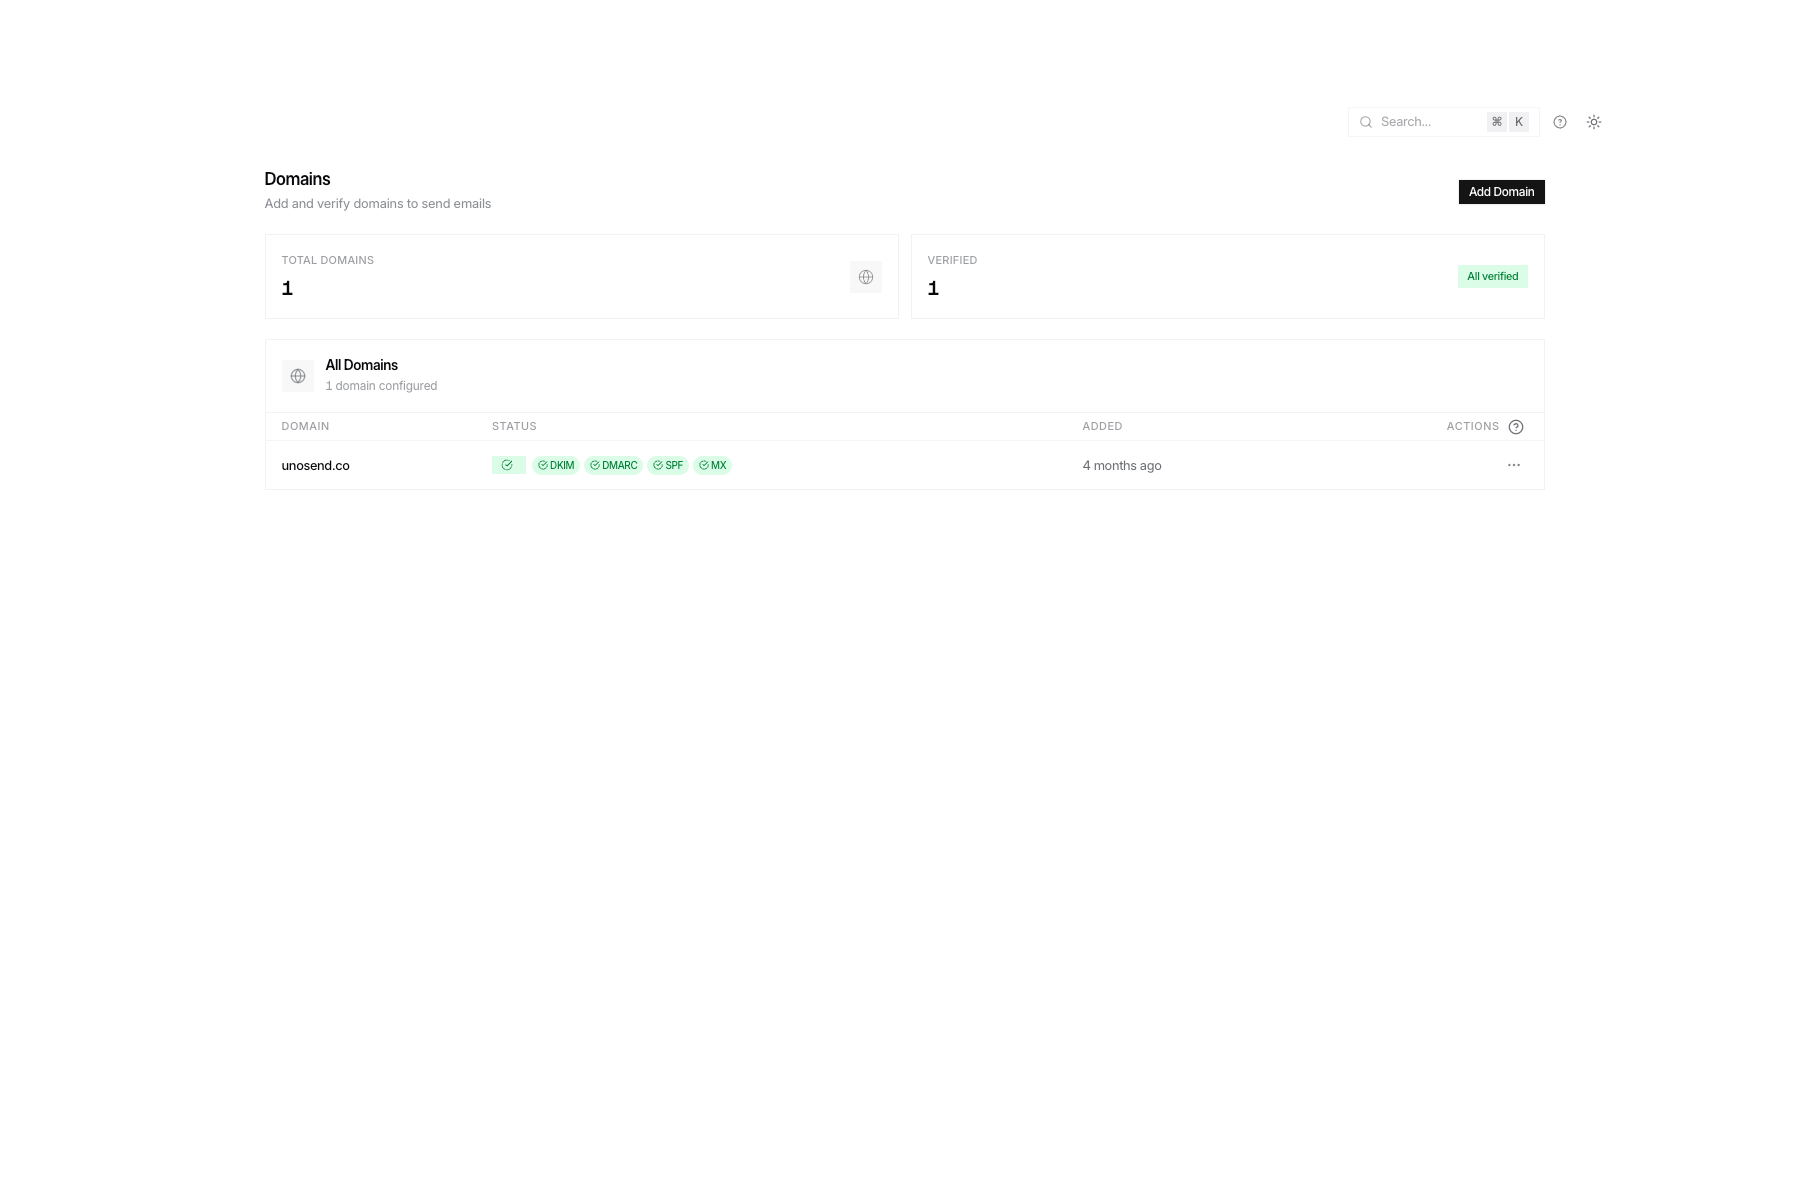
3. Send an Email
Next Steps
Domain Verification
Set up SPF and DKIM
API Reference
See all endpoints